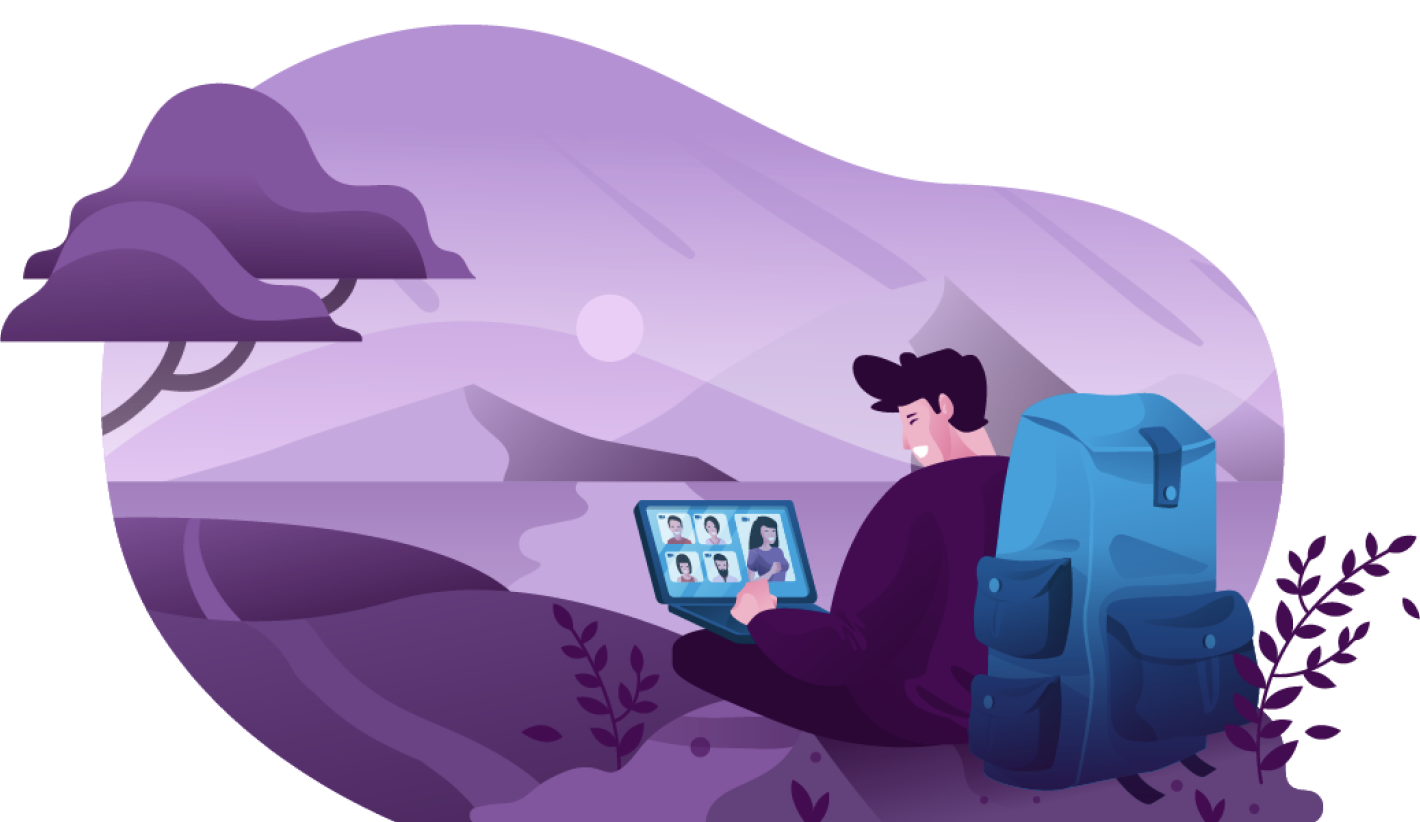
When most people think of adding live video streaming to an application, they often think of video conferencing tools or the time they had a Telehealth appointment. While this is how most people interact with WebRTC in their everyday lives, there are many more scenarios that can use WebRTC.
These two common scenarios rely on everyone being able to see and hear each other. While that provides a lot of power, that is not always best for every application. In certain situations, such as large broadcasts or webinars, it may be important for a person to join a session in receive-only mode. In this mode, the user does not transmit their audio and video but is able to see and hear the other people on the call. They are also able to contribute to chat or interact with the application using data channels.
Having the ability to support receive-only users opens the door for use cases such as online test proctoring and virtual auction houses as well as enabling adding in AI participants in your sessions.
Let's jump into the code and see how this can be achieved using the LiveSwitch SDK.
There are two different ways to set up a “receive-only” user in LiveSwitch. To begin, we will need to set up the application structure and some helper methods that we will use in both methods.
// setup LiveSwitch Configurations

let gateway = "https://cloud.liveswitch.io";

let appId = "62c0809a-5671-426f-94a5-8edbdd1fe962";

let secret = "0070c9c582894ef7969986ba228399c527201d910ed9451eb8b45097194ad689";

// create a default username for our client

let username = "SendReceive";

// generate a claim to join the "MuteOnJoin" channel

let claims = [new fm.liveswitch.ChannelClaim("2ExampleScenario")];


// Returns a new client

let createClient = () => {

     return new fm.liveswitch.Client(gateway, appId, username, "chrome-js-mac");

};


// Returns a new token

let getToken = (client, claims) => {

     return fm.liveswitch.Token.generateClientRegisterToken(
   appId,
   client.getUserId(),
   client.getDeviceId(),
   client.getId(),
   null,
   claims,
   secret
 );

};


let openDownstream = async (remoteConnectionInfo, channel) => {

       // create a remote media object to represent the remote feed

       var remoteMedia = new fm.liveswitch.RemoteMedia();
    remoteMedia.setAudioMuted(false);

    remoteMedia.setVideoMuted(false);

       // create a video stream object from the remote media object

       let videoStream = new fm.liveswitch.VideoStream(remoteMedia);

       // establish the downstream connection and pass in your object to ensure they get connected to the remote feed

       let connection = channel.createSfuDownstreamConnection(
     remoteConnectionInfo,
     videoStream
   );

       // get access to the video container element in the DOM

       const remoteVideo = document.querySelector("#remoteVideo");

       // insert our local preview tile using the getView() helper

    remoteVideo.appendChild(remoteMedia.getView());

       // add a handler to address changes to the downstream connection

    connection.addOnStateChange(function (connection) {

             // is the connection is closing or is failing to be established, remove the remote video feed from the layout and cleanup the objects

             if (
       connection.getState() == fm.liveswitch.ConnectionState.Closing ||
       connection.getState() == fm.liveswitch.ConnectionState.Failing
     ) {

            remoteVideo.removeChild(remoteVideo.firstChild);
       remoteMedia.destroy();

                   // if the connection has failed try to reopen it

        } else if (connection.getState() == fm.liveswitch.ConnectionState.Failed) {

                   openDownstream(remoteConnectionInfo, channel);

        }

    });

        // open the downstream connection

       await connection.open();

 };
We need to establish our application configurations, define our client logic, define our token generation logic, and create a helper function for opening a downstream connection.
Scenario 1: Receive-only with no option to participate in the meeting
In our first scenario, this is all we will need since the downstream connection helper method will allow us to receive each of the upstream connections but will not allow this use to contribute to the meeting in any way. This is the purest form of “receive-only”.
The core application logic for this first scenario is as follows:
let init = async (audioEnabled, videoEnabled) => {

       writeStatus("Creating Client");

       // initialize client

       let client = createClient();

       // create a client token

       let token = getToken(client, claims);


       // register the client using your token

    client
   .register(token)
   .then((channels) => {

               // Client registered.

               writeStatus("Connected to Server.");

               // fetch the channel you connected to

               let channel = channels[0];

               // add a handler for when a new remote connection is opened on the channel

        channel.addOnRemoteUpstreamConnectionOpen(function (
       remoteConnectionInfo
       ) {

                       // trigger our custom downstream connection logic

                       openDownstream(remoteConnectionInfo, channel);

        });

    }).fail((ex) => {

               writeStatus("Register ERROR: " + ex);

    });


     writeStatus(
   "To see the results, please join here https://demo.liveswitch.io/#&channel=2ExampleScenario&mode=1"
 );

};
Here, we create our client, generate a token, register our client, and listen for when remote upstream connections are opened. We then use our downstream helper function to create our remote media object which allows us to add the remote audio and video stream to our user interface.
Scenario 2: Receive-only with the option to participate in the meeting via chat
Our second scenario is more interesting and opens the door for “receive-only” users to contribute to the application using either chat or data channels. In this scenario, we also need to create an upstream connection however this connection will not have an audio or video stream. For this we need to add another helper method to our application.
// start upstream connection

let startSfuConnection = (channel, lm) => {

     writeStatus("Opening SFU connection");

     // pull the audio stream off our local media object

     let audioStream = new fm.liveswitch.AudioStream(lm);

     // pull the video stream off the local media object

     let videoStream = new fm.liveswitch.VideoStream(lm);


     // create our SFU connection object

     let connection = channel.createSfuUpstreamConnection(
   audioStream,
   videoStream
 );

     // open the connection to start streaming our local media

    connection.open();

     writeStatus("Starting SFU Connection");

     return connection;

};
With this new helper, we can now expand our init function to include opening our upstream connection first before adding in our handler for new remote connections.
let init = async (audioEnabled, videoEnabled) => {

       writeStatus("Creating Client");

       // initialize client

       let client = createClient();

       // create a client token

       let token = getToken(client, claims);

       writeStatus("Starting Local Media");

       // create a local media object being sure to enable audio and video

       var localMedia = new fm.liveswitch.LocalMedia(audioEnabled, videoEnabled);

       // get access to the video container element in the DOM

       const video = document.querySelector("#localVideo");

       // insert our local preview tile using the getView() helper

       if (videoEnabled) {

        video.appendChild(localMedia.getView());

    }


       // Start local media

    localMedia
       .start()

           // trigger the join logic once media has been started

     .then((lm) => {

               writeStatus("4 Starting Local Media");

               // register the client using your token

        client
           .register(token)
           .then((channels) => {

                       // Client registered.

                       writeStatus("Connected to Server.");

                       // fetch the channel you connected to

                       let channel = channels[0];

                       // Creates the new SFU Upstream Connection using your canvas stream

                       let sfuConnection = startSfuConnection(channel, localMedia);

                       // add a handler for when a new remote connection is opened on the channel

            channel.addOnRemoteUpstreamConnectionOpen(function (
               remoteConnectionInfo
           ) {

                               // trigger our custom downstream connection logic

                               openDownstream(remoteConnectionInfo, channel);

            });

        })
         .fail((ex) => {

                       writeStatus("Register ERROR: " + ex);

        });

    })

     .fail((ex) => {

        writeStatus("Local Media ERROR: " + ex);

    });

       writeStatus(
       "To see the results, please join here https://demo.liveswitch.io/#&channel=2ExampleScenario&mode=1"
   );

};
Congratulations! You have now successfully created an application that supports “receive-only” users. If you want to see this in action please check out the full application in this codepen.
If you are interested in building this out further and exploring this with some of the other examples we have discussed in our blogs such as the chat example, please sign up for a free 30-day trial here and build your own application!
Need assistance in architecting the perfect WebRTC application? Let our team help out! Get in touch with us today!
